PHP is an abbreviation for PHP: Hypertext Preprocessor. PHP is a server-side scripting language optimised for web development. It is open-source, which means you can download and use it free. It is extremely simple to learn and apply. The files in PHP are having the ".php" extension. Rasmus Lerdorf inspired the first version of PHP and contributed to subsequent versions. It is an interpreted language that does not require the use of a compiler. It is compatible with numerous databases, including Oracle, Microsoft SQL Server, MySQL, PostgreSQL, Sybase, and Informix. It is capable of hosting a content management system such as WordPress and can be used to restrict user access. It supports HTTP Basic, HTTP Digest, IMAP, FTP and other major protocols. PHP is also used to power websites such as facebook.com and yahoo.com. One of the primary reasons for this is that PHP can easily be embedded in HTML files and HTML codes can also be written in a PHP file. PHP differs from client-side languages such as HTML in that PHP code is executed on the server, whereas HTML code is directly rendered on the browser. PHP codes are executed on the server before being returned to the browser.
By using the ‘if’ statement a block of statements will be executed until the condition is true. If the condition is false, then the block of statements will not be executed. If we want to execute more than one condition, then we use ‘else’/’’else if’ statement with ‘if’.
      <!DOCTYPE html>
      <html>
      <body>
      <?php
      $t = date("H");

      if ($t < "20") {
        echo "Have a good day!";
      }
      ?>
      </body>
      </html>
Switch
The switch statement is a type of conditional statement in JavaScript, which is used to perform one condition out of different conditions. This is an excellent choice for long, nested if/else statements. The switch statement is used to evaluate an expression. The expression's value is then compared to the values of each case in the structure. If a match is found, the associated block of code is executed.
      <!DOCTYPE html>
      <html>
      <body>
      <?php
      $favcolor = "red";
      switch ($favcolor) {
        case "red":
          echo "Your favorite color is red!";
          break;
        case "blue":
          echo "Your favorite color is blue!";
          break;
        case "green":
          echo "Your favorite color is green!";
          break;
        default:
          echo "Your favorite color is neither red, blue, nor green!";
      }
      ?>
      </body>
      </html>
Function
A PHP function is a piece of code that is designed to perform a specific task. When someone calls a function, it execute that task. The function keyword is followed by a name, followed by parentheses, to define a PHP function (). Letters, digits, underscores and dollar signs can be used in function names (same rules as variables). Parameter names separated by commas may be included in the parentheses. The function's code to be executed is enclosed in curly brackets {}
      <!DOCTYPE html>
      <html>
      <body>
      <?php
      function writeMsg() {
        echo "Hello world!";
      }
      writeMsg();
      ?>
      </body>
      </html>
Function With Argument
      <?php
      function familyName($fname, $year) {
        echo "$fname Refsnes. Born in $year <br>";
      }
      familyName("Hege", "1975");
      familyName("Stale", "1978");
      familyName("Kai Jim", "1983");
      ?>
PHP Return Type Declarations
      <?php declare(strict_types=1); // strict requirement
      function addNumbers(float $a, float $b) : float {
        return $a + $b;
      }
      echo addNumbers(1.2, 5.2);
      ?>
Local and Global Variable
Global Variables
A variable declared outside a function has a global scope can only be access outside function
      <!DOCTYPE html>
      <html>
      <body>
      <?php
      $x = 5;
      function myTest() {
        echo "<p>Variable x inside function is: $x</p>";
      }
      myTest();
      echo "<p>Variable x outside function is: $x</p>";
      ?>
      </body>
      </html>
Local Variables
A variable declared within function has a local scope and can only be accessed within function
      <!DOCTYPE html>
      <html>
      <body>
      <?php
      function myTest() {
        $x = 5;
        echo "<p>Variable x inside function is: $x</p>";
      }
      myTest();
      echo "<p>Variable x outside function is: $x</p>";
      ?>
      </body>
      </html>
Regular expressions - regEx
Regular expressions (regexes) are a sequence of characters that describe a special search pattern in the form of a text string. In the programming world, they are primarily used to match some loosely defined patterns in order to accomplish some relevant tasks. Regexes are sometimes thought of as a mini programming language with pattern notation that allows users to parse text strings. Because the exact sequence of characters is unpredictable in advance, the regex aids in retrieving the required strings based on a pattern definition. A regular expression is shorthand for describing a string pattern that matches a specific amount of text. As you may be aware, PHP is an open-source language that is commonly used for website development and it includes regular expression functions as an important tool. Many other programming languages, including PHP have their own implementation of regular expressions. This is also true for other applications, which have their own support for regexes with various syntaxes. Regexes are used on very large files and strings by many modern languages and tools. Let's look at some of the benefits and applications of regular expressions.
HP provides a variety of functions that allow you to use regular expressions. Some The preg_match(), preg_match_all() and preg_replace() functions are some of the most commonly used ones.
Function
Description
preg_match()
If the pattern was found in the string, 1 is returned; otherwise, 0 is returned.
preg_match_all()
The number of times the pattern was found in the string, which may be 0 in some cases.
preg_replace()
Returns a new string with the matched patterns replaced by another string.
preg_match()
The preg_match() function will tell you whether a string contains matches of a pattern.
        <?php
        $str = "Entering into web development";
        $pattern = "/web/i";
        echo preg_match($pattern, $str);
        ?>
preg_match_all()
The preg_match_all() function will tell you how many matches were found for a pattern in a string.
        <?php
        $str = "The rain in SPAIN falls mainly on the plains.";
        $pattern = "/ain/i";
        echo preg_match_all($pattern, $str);
        ?>
preg_replace()
The preg_replace() function will replace all of the matches of the pattern in a string with another string.
        <?php
        $str = "Enter into Web Development";
        $pattern = "/Enter/i";
        echo preg_replace($pattern, "Entering", $str);
        ?>
Cookies
A cookie is frequently used to recognise a user. A cookie is a small file that is placed on the user's computer by the server. The cookie will be sent each time to the same computer when it requests a page via browser. Cookie values can be created and retrieved using PHP.
A cookie is created with the setcookie() function.
  <!DOCTYPE html>
  <?php
  $cookie_name = "cookie_1";
  $cookie_value = "Web Development";
  setcookie($cookie_name, $cookie_value, time() + (86400 * 30), "/");
  ?>
  <html>
  <body>
  <?php
  if(!isset($_COOKIE[$cookie_name])) {
       echo "Cookie named '" . $cookie_name . "' is not set!";
  } else {
       echo "Cookie '" . $cookie_name . "' is set!<br>";
       echo "Value is: " . $_COOKIE[$cookie_name];
  }
  ?>
  <p><strong>Note:</strong> You might have to reload the page to see the value of the cookie.</p>
  </body>
  </html>
Session
When we use an application by opening it, make changes and then close it, a session is created. The computer recognises user. It knows when we have started and closed the application. However, there is an issue on the internet: the web server has no idea that who are you or what you have done because the HTTP address does not maintain state. Session variables address this issue by storing user data that can be used across multiple pages (e.g. username, favourite color, etc). Session variables are retained by default until the user closes the browser.
A session is started with the session_start() function.
      <?php
      session_start();
      ?>
      <!DOCTYPE html>
      <html>
      <body>
      <?php
      $_SESSION["favcolor"] = "green";
      $_SESSION["favanimal"] = "cat";
      echo "Session variables are set.";
      ?>
      </body>
      </html>
Destroying the session
      <?php
      session_start();
      ?>
      <!DOCTYPE html>
      <html>
      <body>
      <?php
      session_unset();
      session_destroy();
      echo "All session variables are now removed, and the session is destroyed."
      ?>
      </body>
      </html>
Date and time
The PHP date() function formats a timestamp to a more readable date and time.
      <!DOCTYPE html>
      <html>
      <body>
      <?php
      echo "Today is " . date("Y/m/d") . "<br>";
      echo "Today is " . date("Y.m.d") . "<br>";
      echo "Today is " . date("Y-m-d") . "<br>";
      echo "Today is " . date("l");
      ?>
      </body>
      </html>
Date Formats:
      $today = date("F j, Y, g:i a");                 		// March 10, 2001, 5:16 pm

      $today = date("m.d.y");                         		// 03.10.01

      $today = date("j, n, Y");                       		// 10, 3, 2001

      $today = date("Ymd");                           		// 20010310

      $today = date('h-i-s, j-m-y, it is w Day');     	// 05-16-18, 10-03-01, 1631 1618 6Satpm01

      $today = date('\i\t \i\s \t\h\e jS \d\a\y.');   	// it is the 10th day.

      $today = date("D M j G:i:s T Y");               		// Sat Mar 10 17:16:18 MST 2001

      $today = date('H:m:s \m \i\s\ \m\o\n\t\h');  // 17:03:18 m is month

      $today = date("H:i:s");                         		// 17:16:18

      $today = date("Y-m-d H:i:s");               		// 2001-03-10 17:16:18
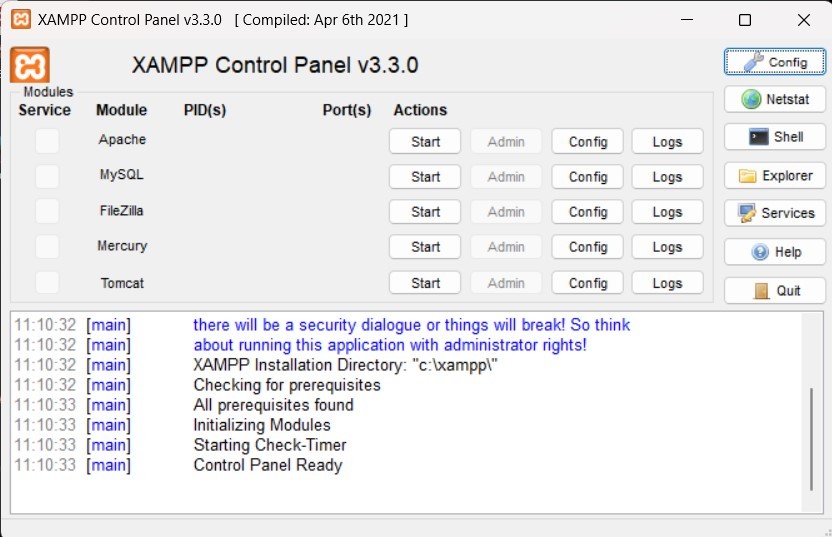
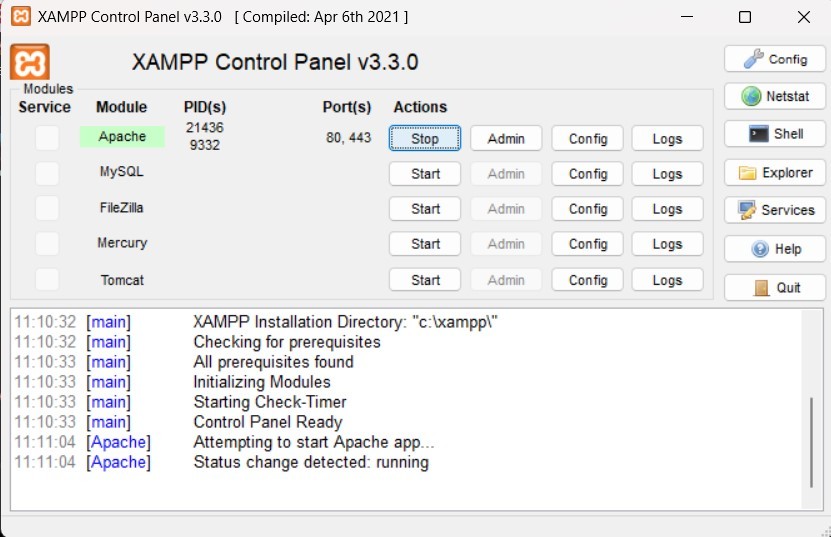
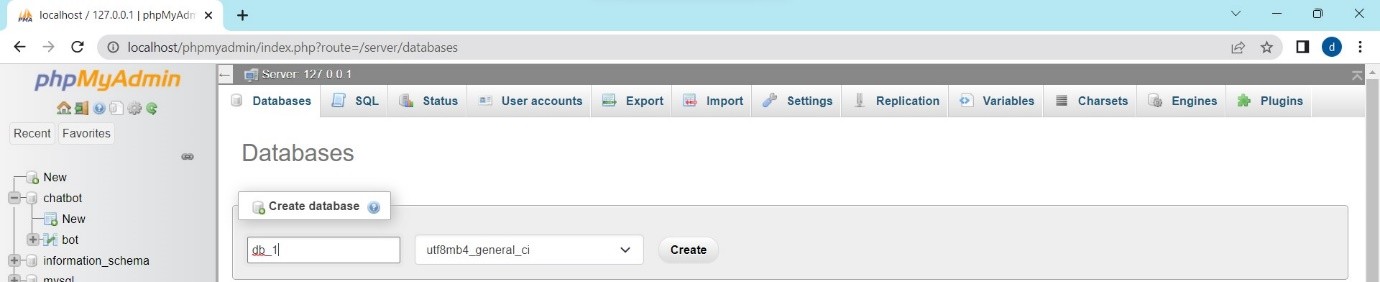
Creating database
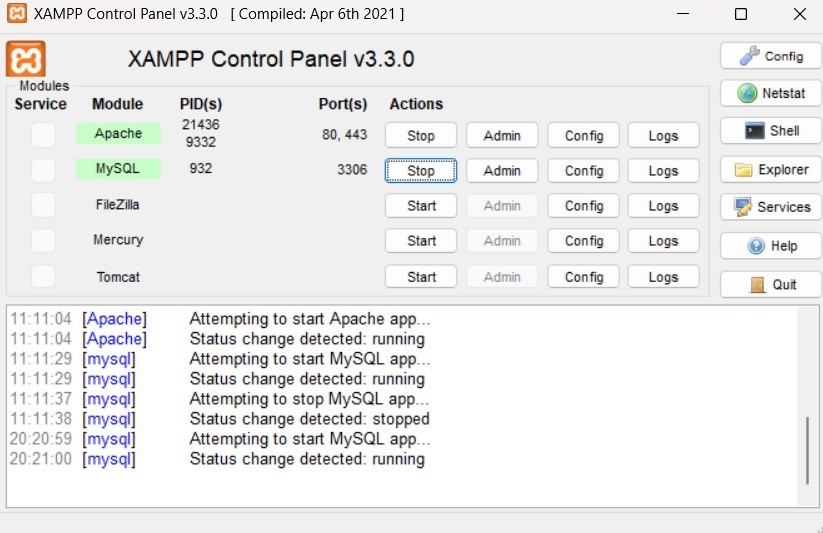
For creating database we need to activate database first. The database can be activated by starting MySql in XAMPP application.
Steps for Creating Database
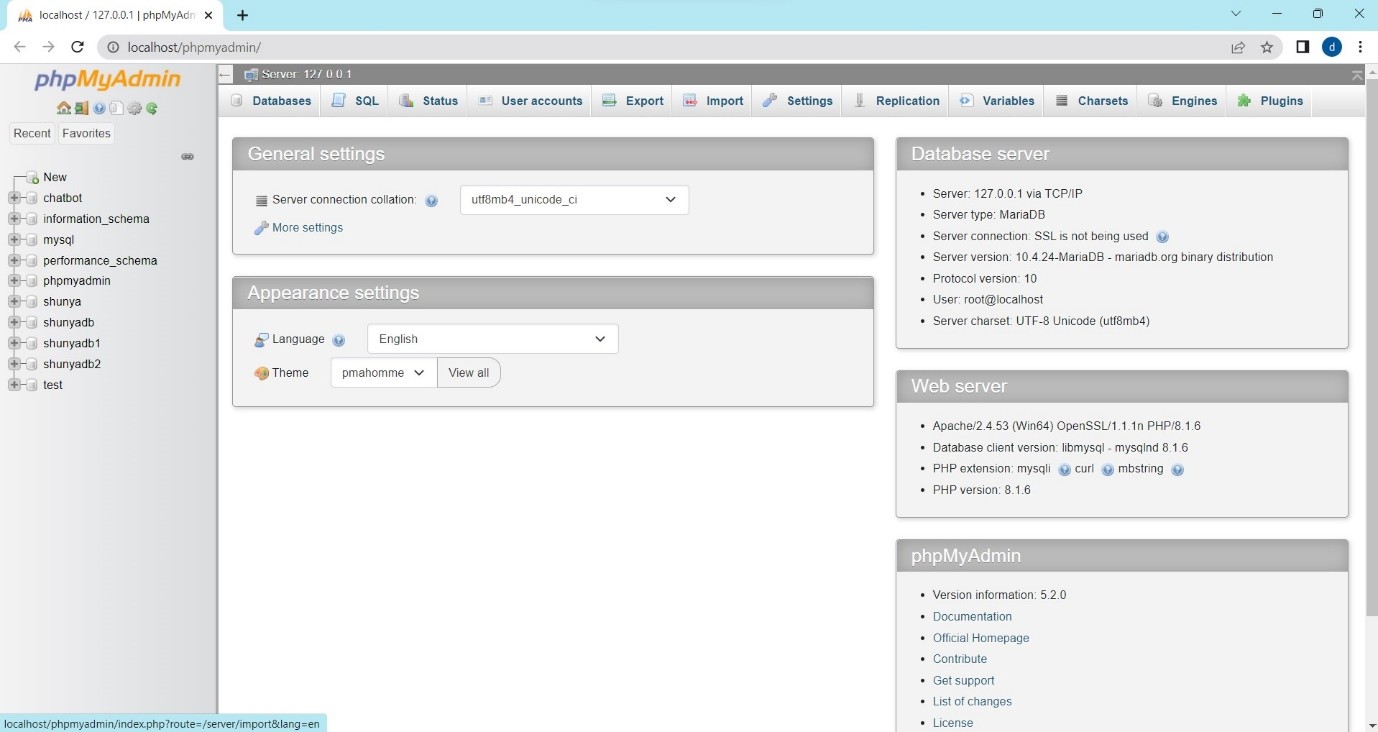
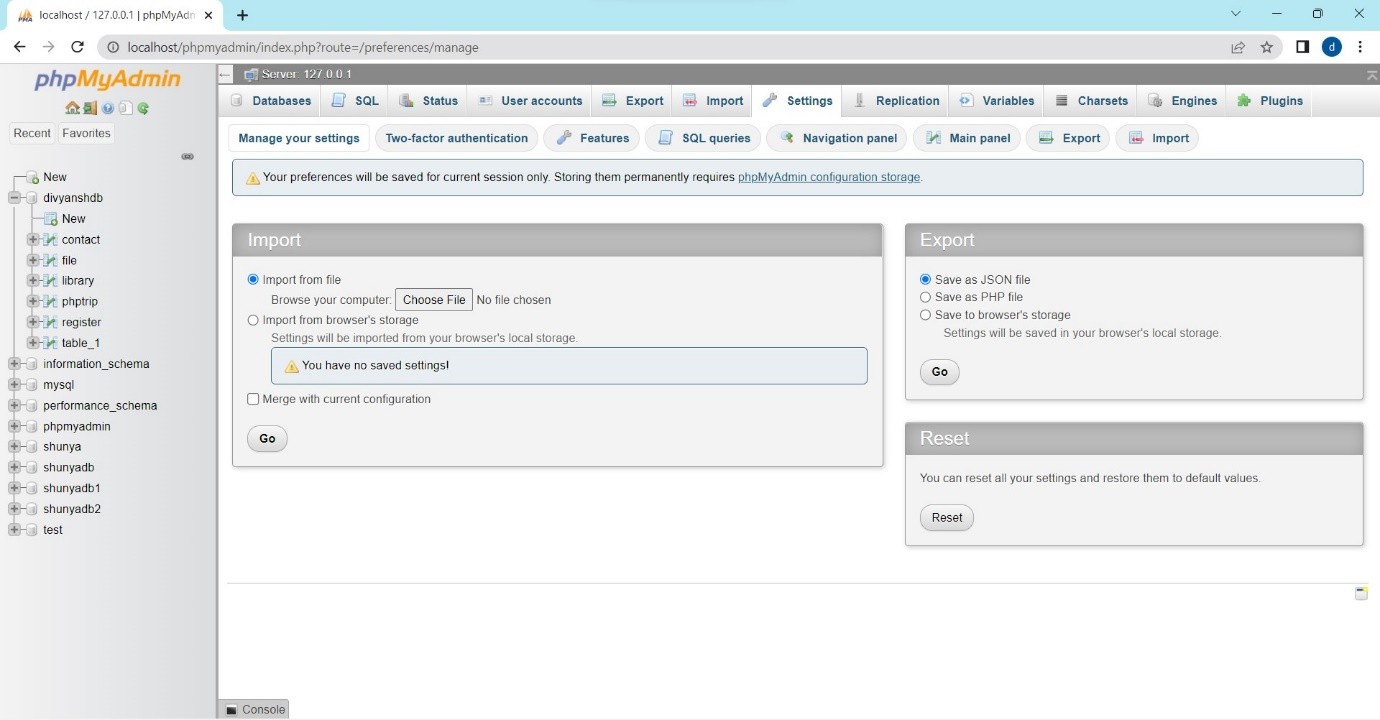
Step-1:Open Admin panel on mySql by clicking on Admin button of MySql in XAMPP.
Step-2:Create a new database by clicking on New button in the left side of admin window and give the name of your database.
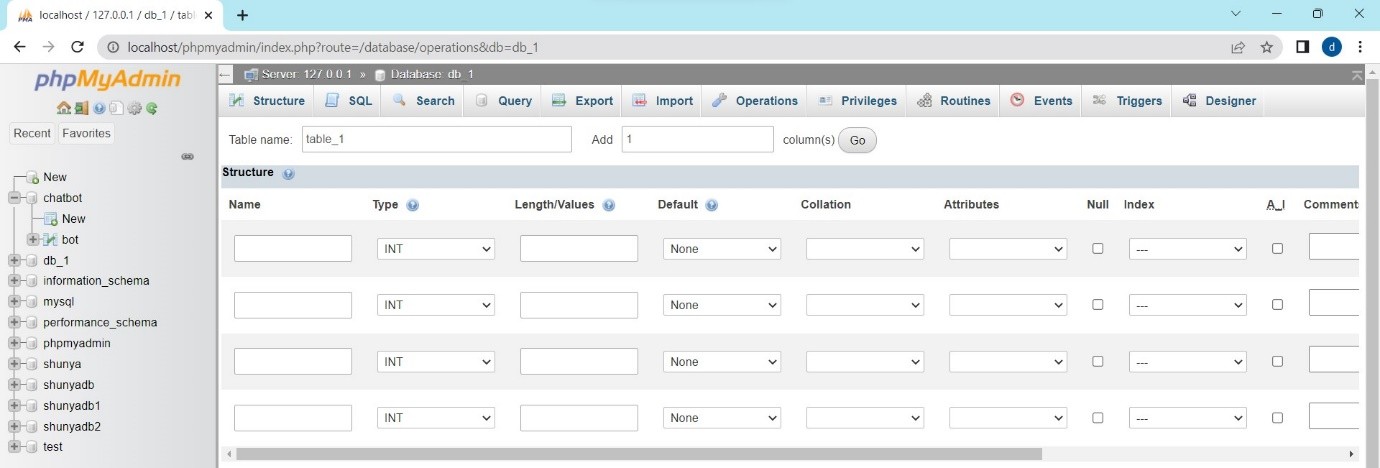
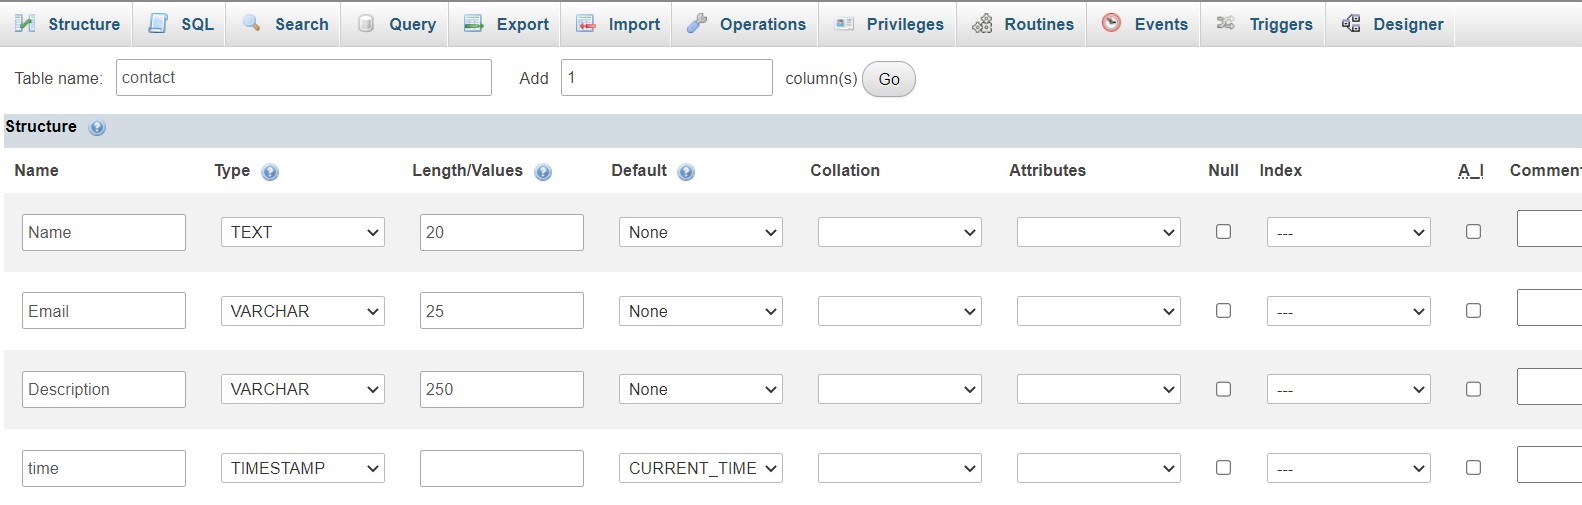
Step-3:Give the table name and select no. of column of table in the admin panel.
Step-4: Give details of the given table in the admin panel
Detail of table elements
(we will discussing only those element which are needed)
Name: Used to enter the name of the column of the table in the database.
Type: Used to enter the type of element to be entered in column of the table in the database.
Length/Values: Used to give the length of the element of the column in table tag.
AI: AI stand for auto increment. Used to give serial no. of elements of the table.
Connecting To Database
We must define three variables: $servername, $username, and $password. Now we'll use mysqli connect to connect to the server. We will also add an extra feature to the code that will terminate the programme with an error message if the connection is not established. We'll use the die feature for this.
<?php
echo "Welcome to the stage where we are ready to get connected to a database <br>";
$servername = "localhost";
$username = "root";
$password = "";
$conn = mysqli_connect($servername, $username, $password);
if (!$conn){
die("Sorry we failed to connect: ". mysqli_connect_error());
}
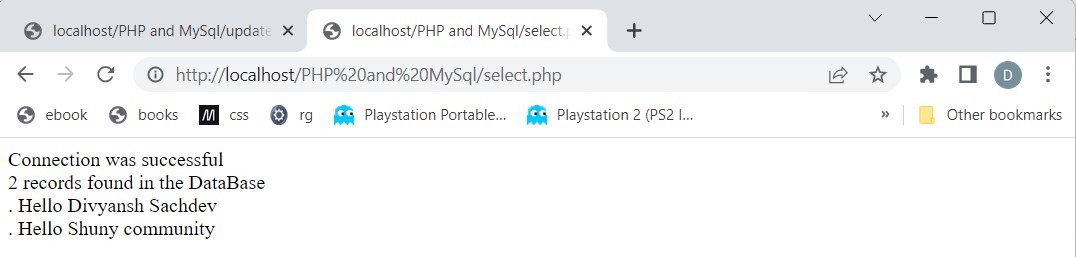
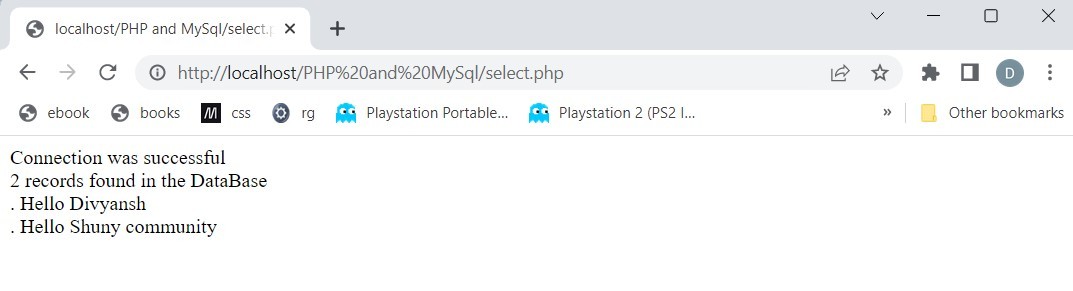
else{
echo "Connection was successful";
}
?>
Mysqli: MySQLi is a web-based open-source relational database management system. This database system is dependable for small and large applications alike.
Creating Database via PHP
      <?php
      $servername = "localhost";
      $username = "root";
      $password = "";

      $conn = mysqli_connect($servername, $username, $password);
      if (!$conn){
          die("Sorry we failed to connect: ". mysqli_connect_error());
      }
      else{
          echo "Connection was successful<br>";
      }
      $sql = "CREATE DATABASE divyanshdb";
      $result = mysqli_query($conn, $sql);
      if($result){
          echo "The db was created successfully!<br>";
      }
      else{
          echo "The db was not created successfully because of this error ---> ". mysqli_error($conn);
      }
      ?>
Creating Table via PHP
      <?php
      $servername = "localhost";
      $username = "root";
      $password = "";
      $database = "divyanshdb";
      $conn = mysqli_connect($servername, $username, $password, $database);
      if (!$conn){
          die("Sorry we failed to connect: ". mysqli_connect_error());
      }
      else{
          echo "Connection was successful<br>";
      }
      $sql = "CREATE TABLE `abc` ( `sno` INT(6) NOT NULL AUTO_INCREMENT , `name` VARCHAR(12) NOT NULL , `dest` VARCHAR(6) NOT NULL , PRIMARY KEY (`sno`))";
      $result = mysqli_query($conn, $sql);
      if($result){
          echo "The table was created successfully!<br>";
      }
      else{
          echo "The table was not created successfully because of this error ---> ". mysqli_error($conn);
      }
      ?>
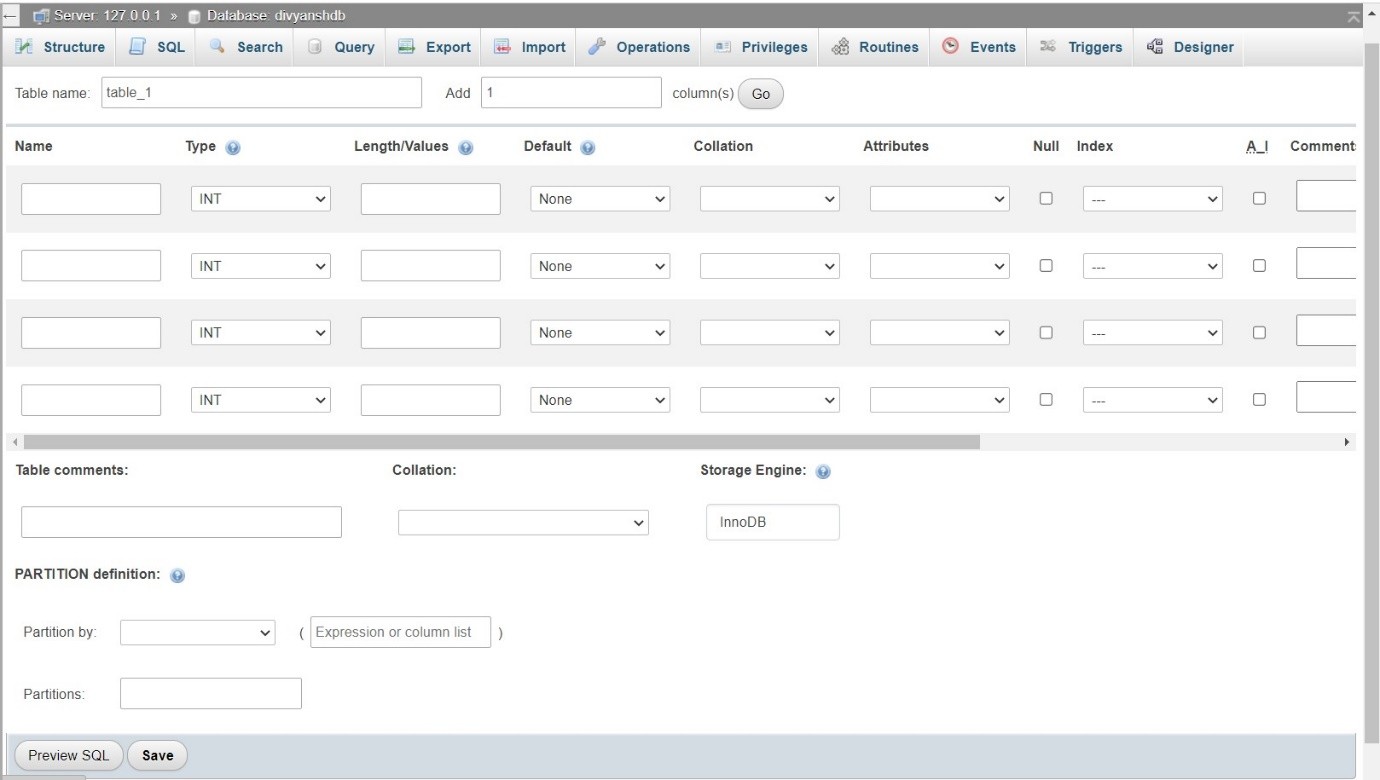
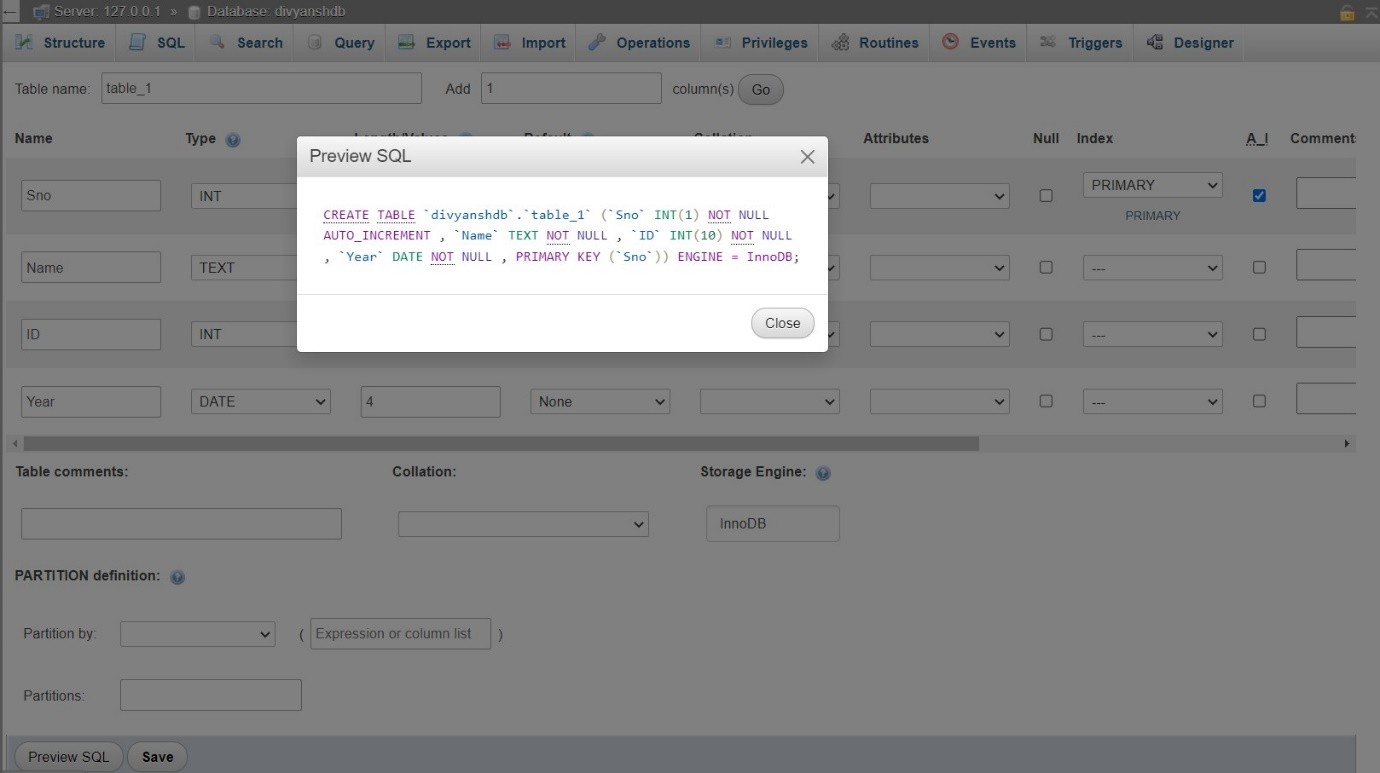
How to get this query?
$sql = "CREATE TABLE `abc` ( `sno` INT(6) NOT NULL AUTO_INCREMENT , `name` VARCHAR(12) NOT NULL , `dest` VARCHAR(6) NOT NULL , PRIMARY KEY (`sno`))";
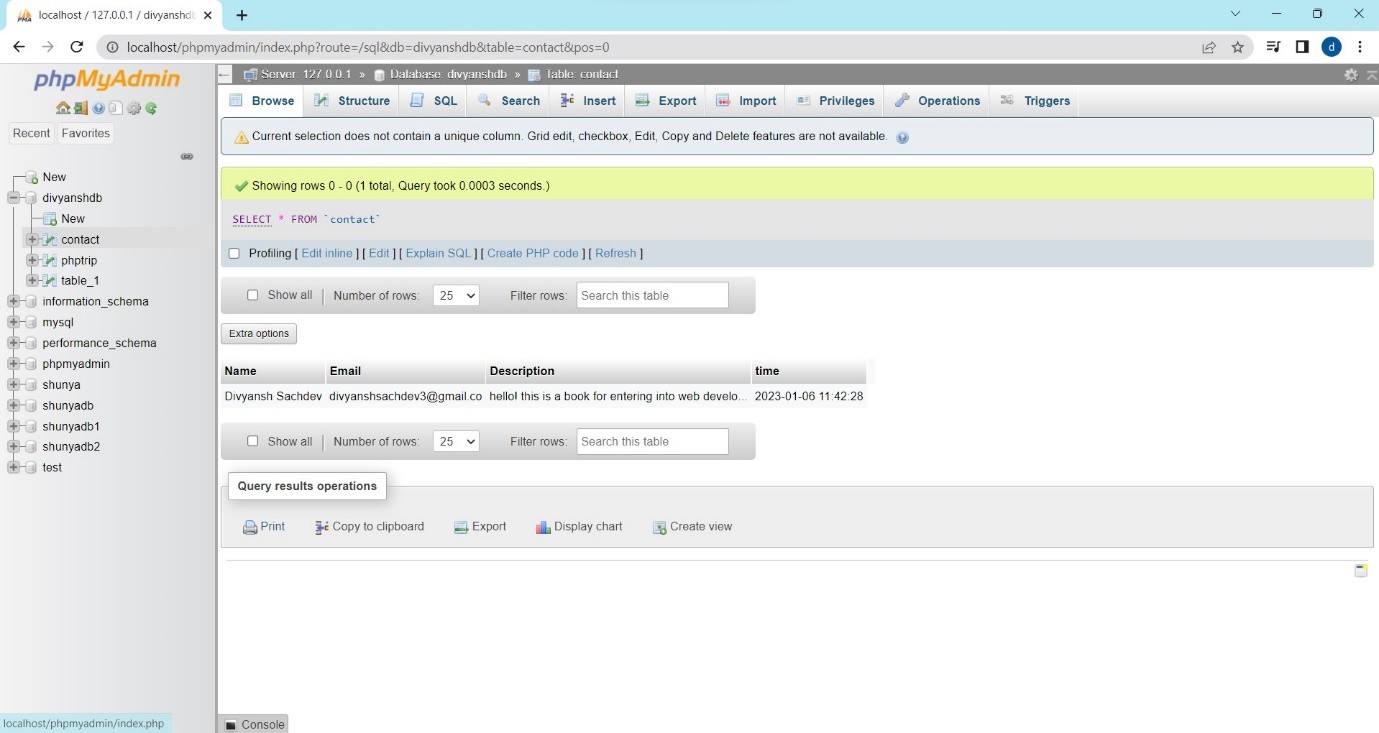
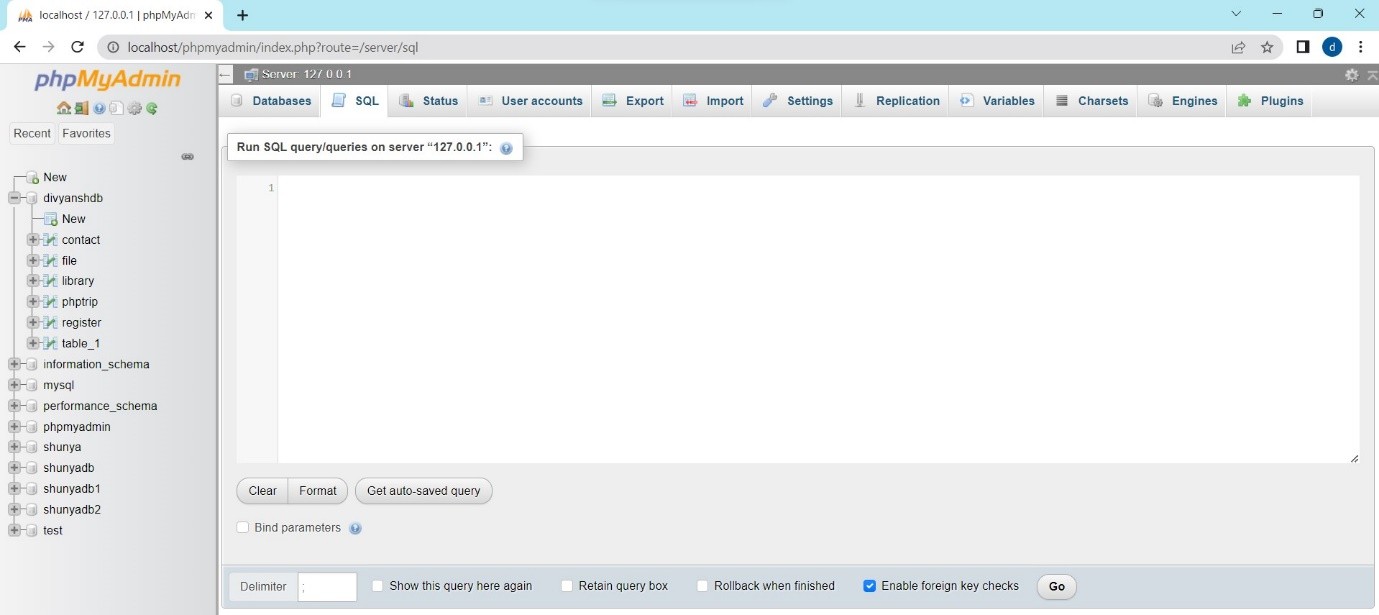
Step-1:open phpmyadmin and click on create new table.
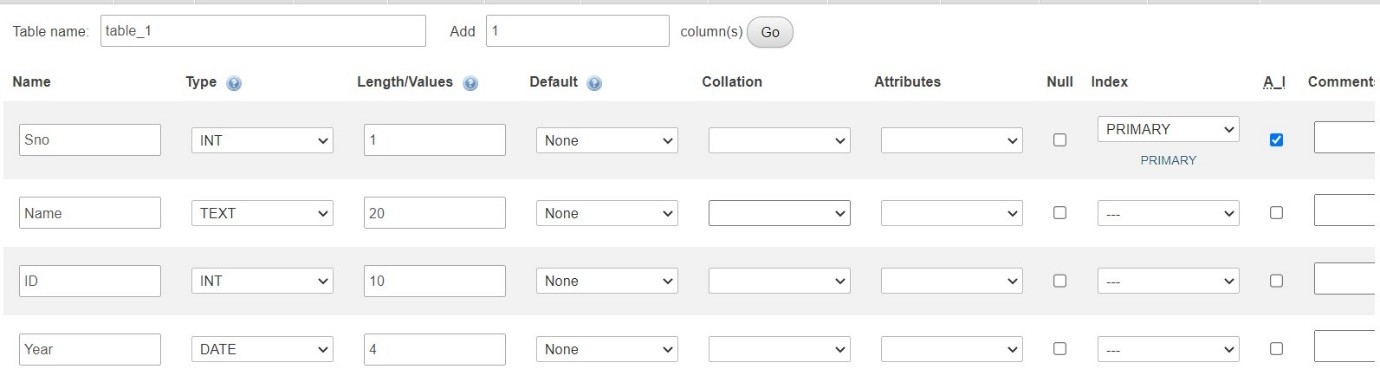
Step-2:Fill the data in the table you have created.
Step-3:click on preview SQL. You can see the sql query to create the table with the given data.
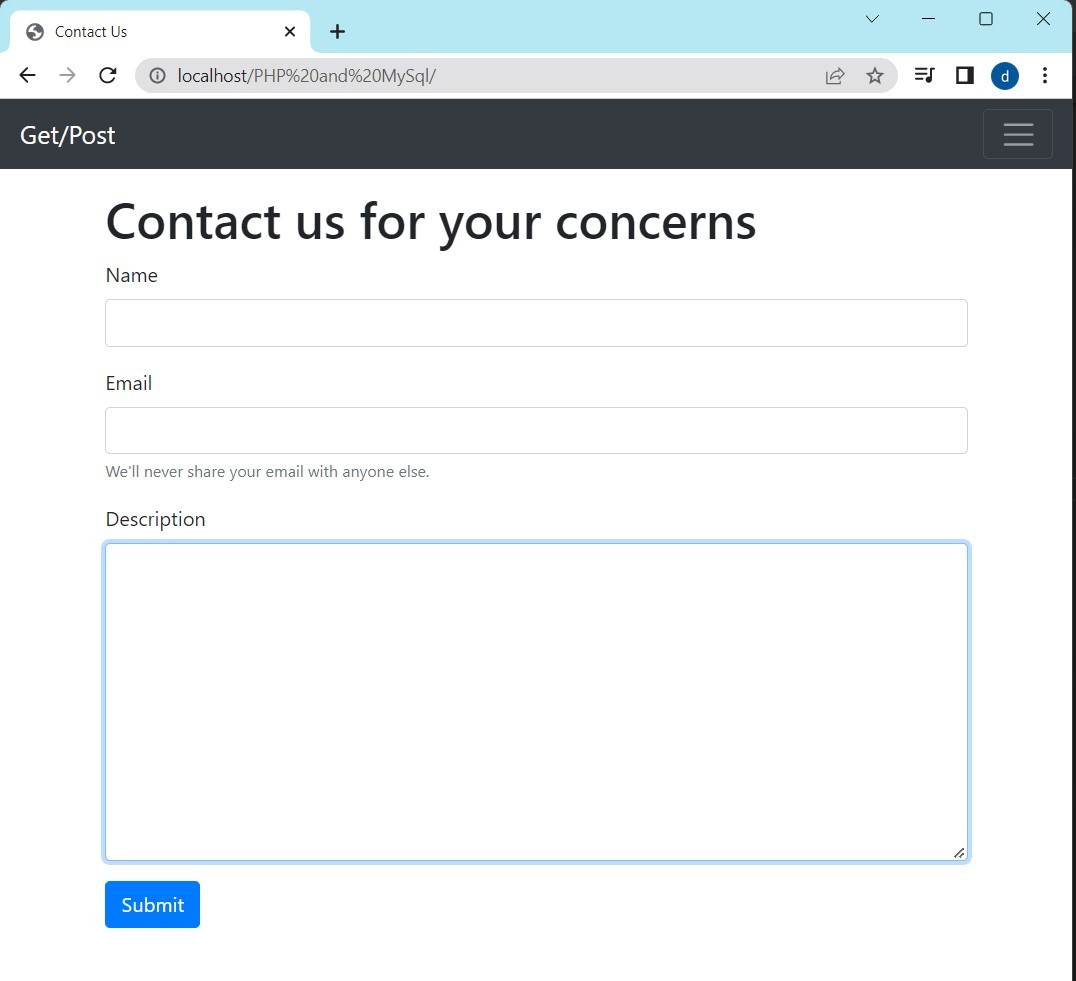
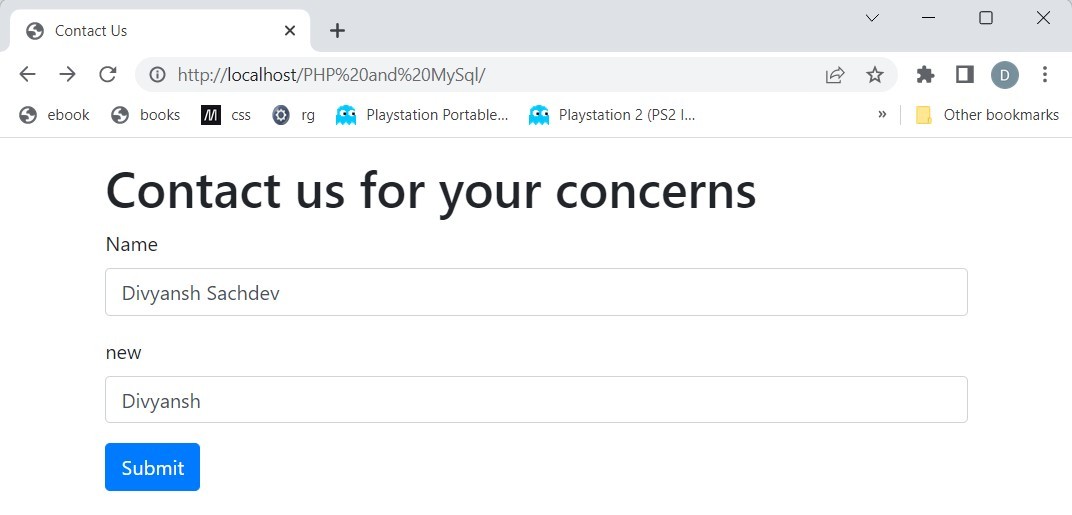
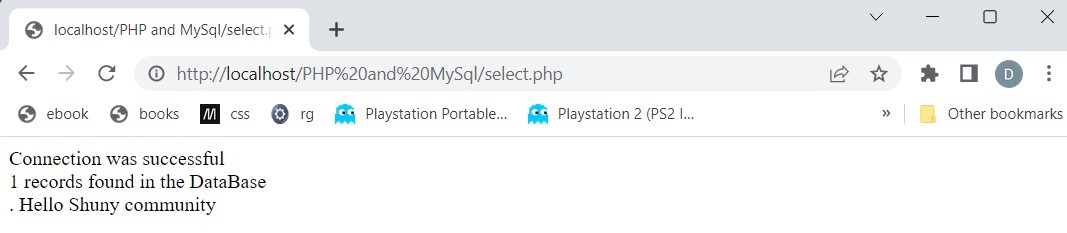
This is the main logic to get the data into the table. The sql query is used to add data from the element to the database. If the connection was successful then the ‘Thank you’ message was appeared otherwise ‘Error’ message will be displayed. You can also customize the ‘Thank you” with the javascript popup or can redirect to other custom designed html pages.
CRUD Operations
The acronym CRUD stands for Create, Read, Update and Delete in computer programming. These are the four fundamental features of persistent storage. Furthermore, each letter in the acronym can refer to any function in relational database applications that is mapped to a standard HTTP method, SQL statement, or DDS operation. It can also refer to user-interface conventions that allow for the viewing, searching, and modification of data via computer-based forms and reports. Entities are read, created, updated, and deleted. Those same entities can be modified by retrieving data from a service and altering the setting properties before returning the data to the service for an update. Furthermore, CRUD is data-driven and makes use of HTTP action verbs in a consistent manner.